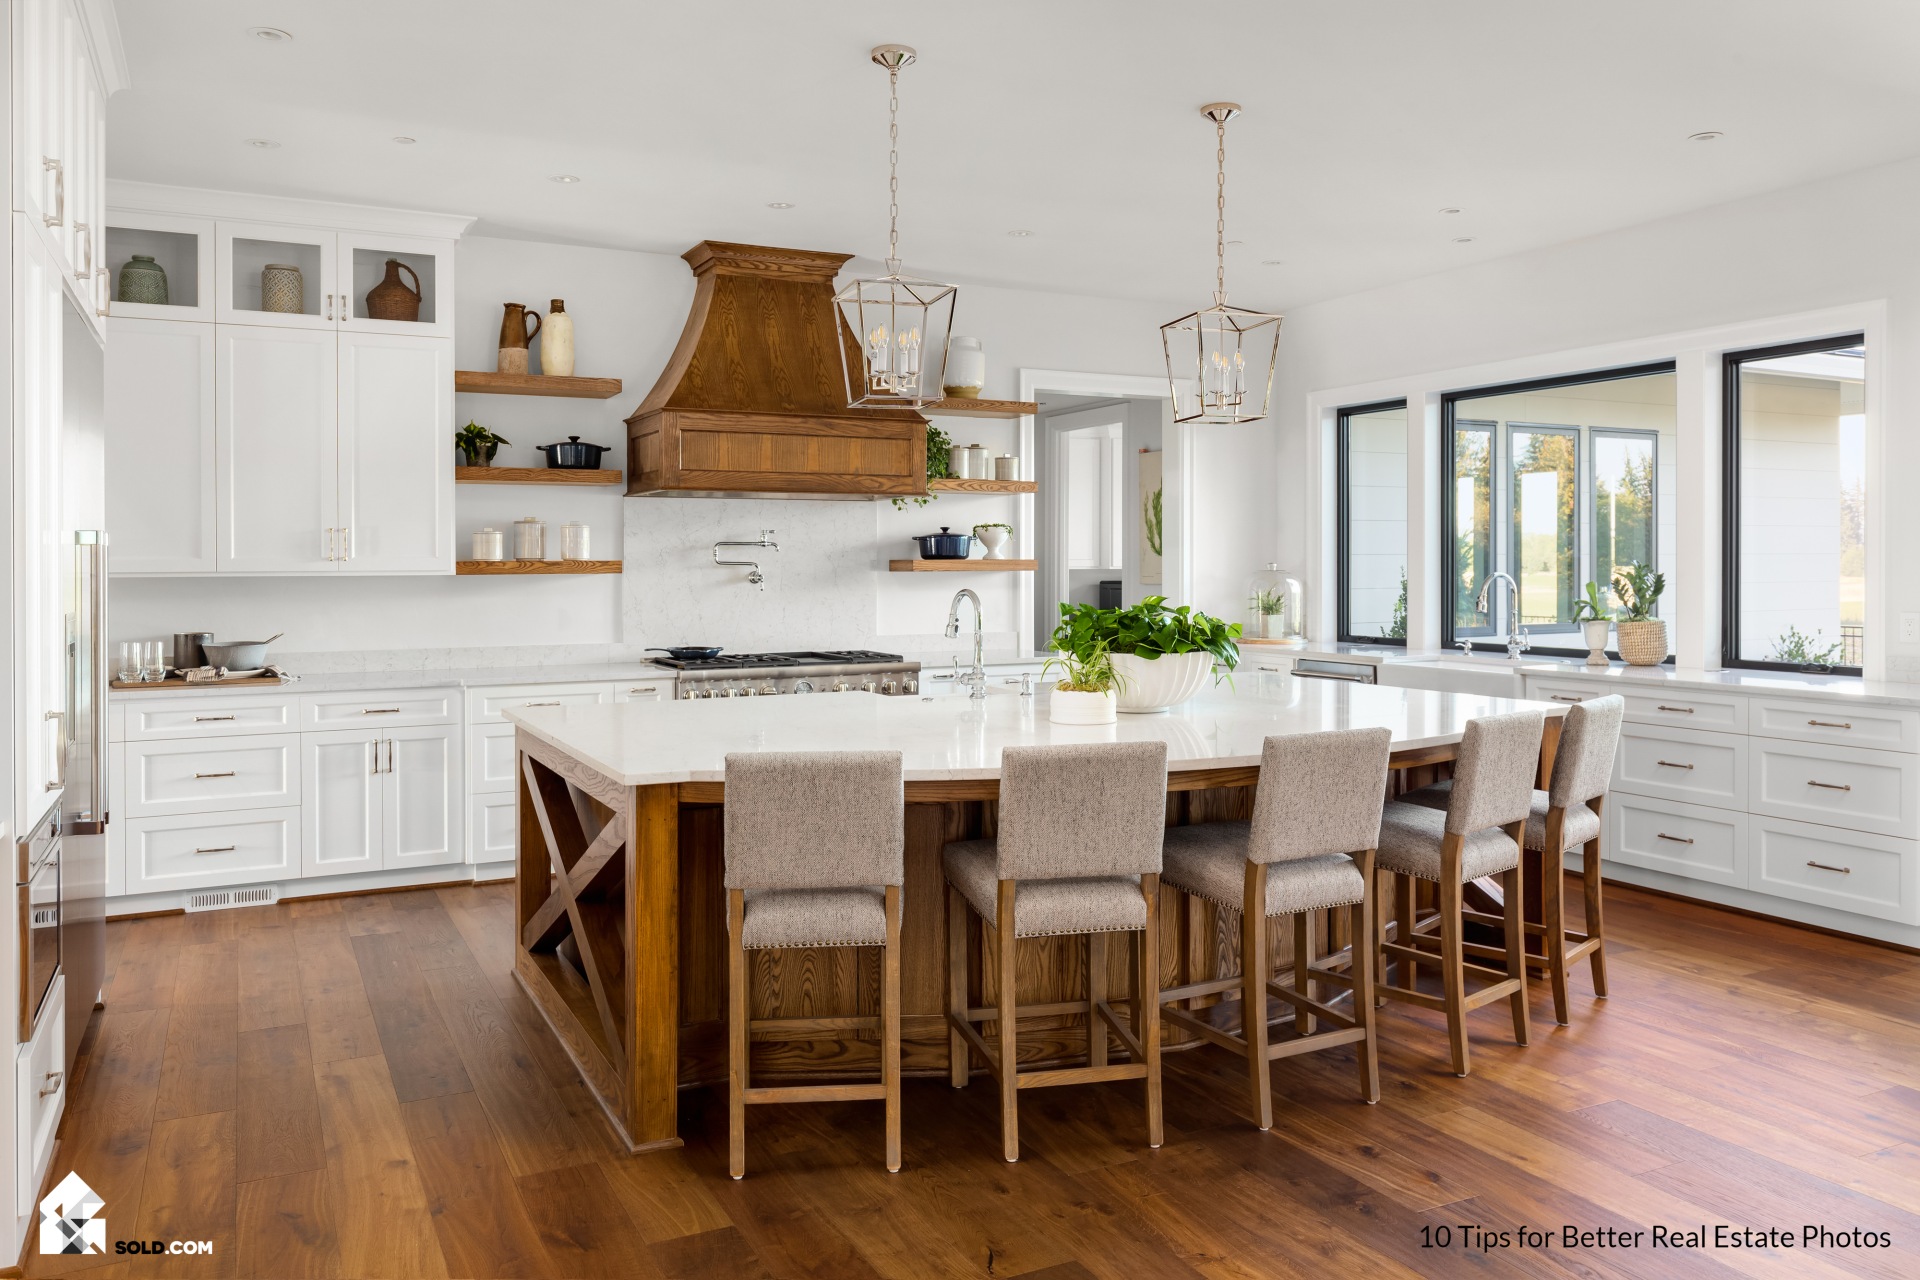
If you’re going to get your house sold, you’re going to need to take some good photographs of it. Indeed, real estate pics can make or break your listing, either enticing house hunters to come tour the place or else cautioning them to steer clear.
Our team observes a lot of really good real estate photos, but also some fairly dire ones. For those who want to take their real estate photography skills up a notch, we have a few practical tips to offer.
And speaking of practical tips, remember that you can claim your FREE seller’s report from SOLD.com any time! In it, you’ll learn all about the best way to sell a house. We’ll provide individualized solutions for getting your place sold as quickly as possible, and for a great price.
With that said, let’s turn our attention to photography, one of the most important steps to selling a house.
10 Ways to Improve Your Real Estate Photos
- Get yucky stuff out of view. It’s important to stage your photos before you start snapping images, and one way you can do that is to make sure there aren’t any visible trash cans, recycling bins, or open toilet bowls in your frame.
- Hold steady. It’s important that you take images that are clear, not blurry; if you find it’s hard to hold your camera or phone steady, you may want to invest in a tripod.
- Ensure the right lighting. Open windows and blinds to let in as much natural light as possible. Plan your photo session for peak daylight hours. Experiment with using the flash and consider bringing some additional photo lights to illuminate the scene.
- Consider line of sight. What do you see out the window? Is it a scenic view, or an unpleasant image of your neighbor’s overflowing trash can? Be mindful of this as you consider whether to include the outside view in any of your images.
- Use the right angles. A good, wide angle view can often be effective in showing off the spaciousness of your home. The “fish eye” lens, however, should be avoided at all costs.
- Get a second opinion. Sometimes, you’re so familiar with the property that it can be hard for you to be truly objective about its best (and worst) features. Bring a friend who can point you toward some details you might want to include, or who can advise on which angles are most flattering.
- Declutter. Decluttering is always one of the most important steps to selling a house. Make sure you make your space look as clean, clear, and roomy as can be before your photo session begins.
- Zoom in for key details. You can’t capture every square inch of your home in the photos and shouldn’t try to…but if there’s a particular part of the home where you have some really extravagant detail work, try to get a close-up.
- Take care of the landscaping. No, really. You’ll need a few exterior shots of the house, and the last thing you want is for everything to look overgrown. The best way to sell a house is to dazzle buyers with a strong first impression, and that may require you to do a little groundskeeping work!
- Upload methodically. Finally, when you upload your images to the MLS, pay attention to the order in which you sequence them. You want to give your viewers the feel of a virtual tour, and that means starting with an exterior shot, moving into the front entryway, and then logically moving from one room to the next. Sequence your images in a way that gives some sense of the home layout.
Learn More About How to Sell Your Home
Superlative photography skills can go a long way toward getting your listing sold… but it also helps to work with reliable data and actionable information.
You’ll find all of that in your SOLD.com report. If you haven’t claimed your copy, we invite you to request one today. You’ll get a personal recommendation for how best to approach your real estate journey, and ultimately to meet all of your goals. Get your SOLD.com seller’s report today!

